みな様こんにちは。
ブリスウェルのSonと申します。
最近、暖かい日が続くようになり、春も近づいてきましたね。
OCRについて調べていたところ、AWSのTextractというサービスを見つけました。
今回はAWSのTextractを触ってみましたので、わかったことなど書いていきます。
I. Textractとは

① 概要
Textractは、印刷されたテキスト、手書きの文字、レイアウト要素、データを、あらゆるドキュメントから自動的に抽出する
https://aws.amazon.com/jp/textract
② メリット
- テキスト認識プロセスの自動化
- AWSの他のサービスとの柔軟な統合
③ デメリット
大規模プロジェクトには高いコストがかかる
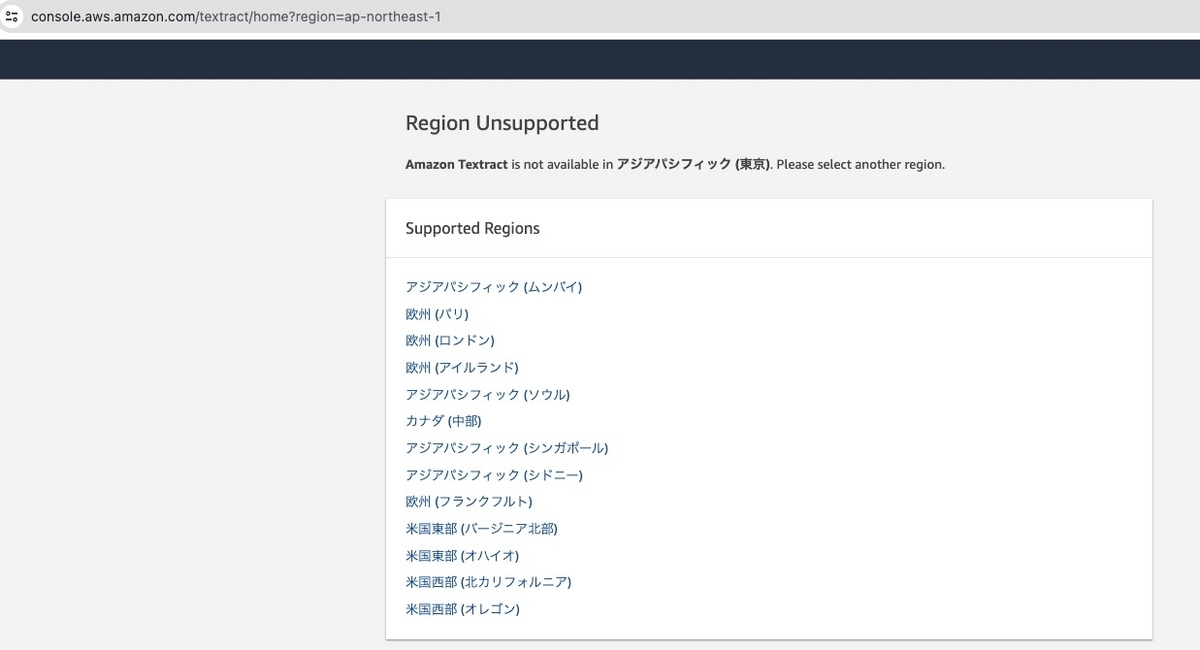
https://aws.amazon.com/jp/textract/pricing一部の地域のみをサポートしており、日本語がまだサポートされていません
II. 使ってみる
Nodejs、Textractを利用して以下のようなフローを実装してみます。
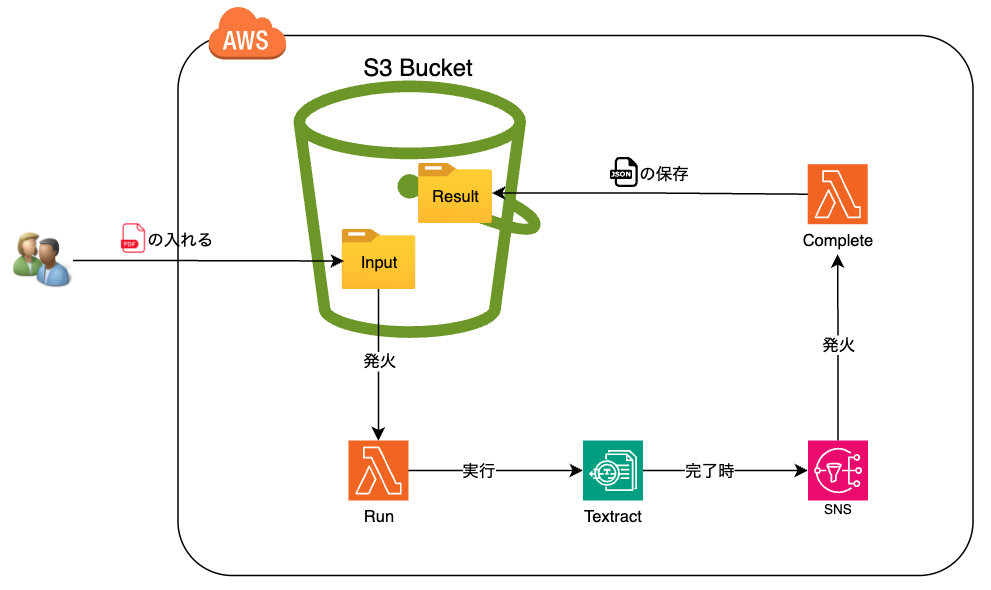
S3バケットに抽出したいpdfファイルをアップロードする。S3バケットからRunの関数を発火し、その後にTextractを実行する。
もしTextractが実行完了したら、[AWS SNS]からCompleteの関数を発火し、Textractの結果からjsonファイルをS3バケットへ保存する。
① 初期化
リソースやLambdaのソースコードをデプロイするために、今回はServerlessのフレームワークを利用します。
導入方法などは下記のリンクを参照してください。
記載された処理により、3つのs3、textract、util-utf8のライブラリをインストールする必要がある。
プロジェクトの下にpackage.jsonファイルを以下の内容で作成する。
{
  "name": "textracttest",
  "version": "0.0.1",
  "license": "UNLICENSED",
  "devDependencies": {
    "serverless": "3.38.0"
  },
  "dependencies": {
    "@aws-sdk/client-s3": "^3.529.1",
    "@aws-sdk/client-textract": "^3.529.1",
    "@smithy/util-utf8": "^2.2.0"
  }
}
② serverless.ymlファイルの設定
LambdaとTextractのロールの作成
TextractとLambdaを実行できるように、最初にxxxlambdaDevRole、xxxTextractDevRoleのロールを2つ作成する必要がある。
serverless.ymlファイルで下記の設定を追加する。
service: textract
frameworkVersion: "3"

provider:
  name: aws
  runtime: nodejs20.x
  region: us-east-1
  stage: dev

resources:
  Resources:
    xxxlambdaDevRole:
      Type: AWS::IAM::Role
      Properties:
        RoleName: xxxlambdaDevRole
        AssumeRolePolicyDocument:
          Version: '2012-10-17'
          Statement:
            - Effect: Allow
              Principal:
                Service:
                  - lambda.amazonaws.com
              Action: sts:AssumeRole
        Policies:
          - PolicyName: xxxlambdaDevPolicy
            PolicyDocument:
              Version: '2012-10-17'
              Statement:
                - Effect: Allow
                  Action:
                    - logs:*
                    - s3:*
                    - textract:*
                    - iam:PassRole
                  Resource:
                    - '*'
    xxxTextractDevRole:
      Type: AWS::IAM::Role
      Properties:
        RoleName: xxxTextractDevRole
        AssumeRolePolicyDocument:
          Version: '2012-10-17'
          Statement:
            - Effect: Allow
              Principal:
                Service:
                  - textract.amazonaws.com
              Action: sts:AssumeRole
        ManagedPolicyArns:
          - arn:aws:iam::aws:policy/AmazonSNSFullAccess
          - arn:aws:iam::aws:policy/AmazonTextractFullAccess
          - arn:aws:iam::aws:policy/AWSLambdaExecute
上記の設定部分を書いたら、AWSへ2つのロールをデプロイするために、下記のコマンドを実行する。
serverless deploy
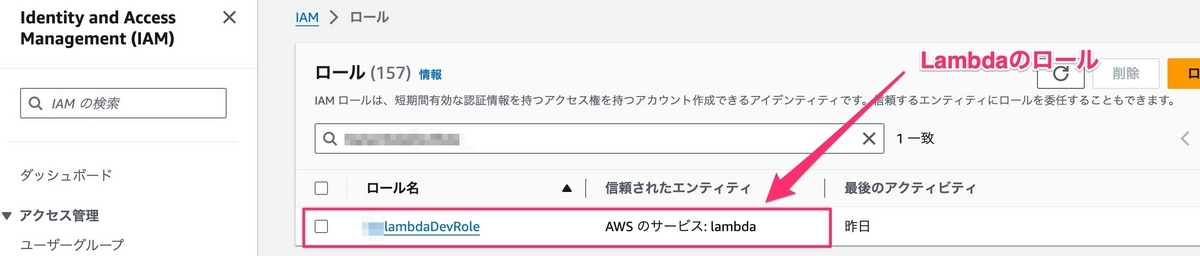
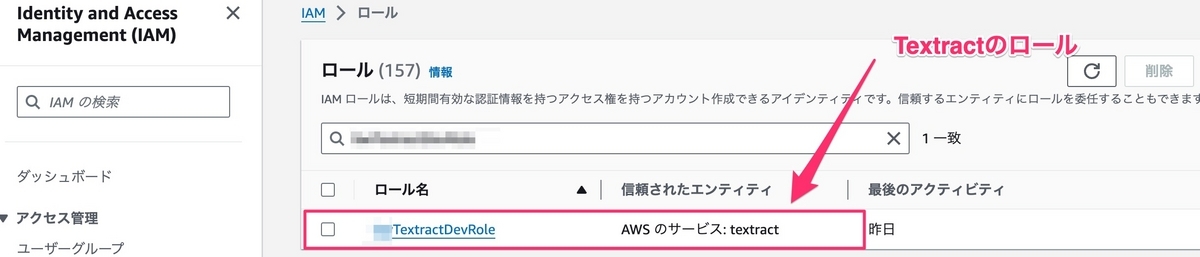
上の画像により、xxxlambdaDevRoleとxxxTextractDevRoleの作成が完了しました。
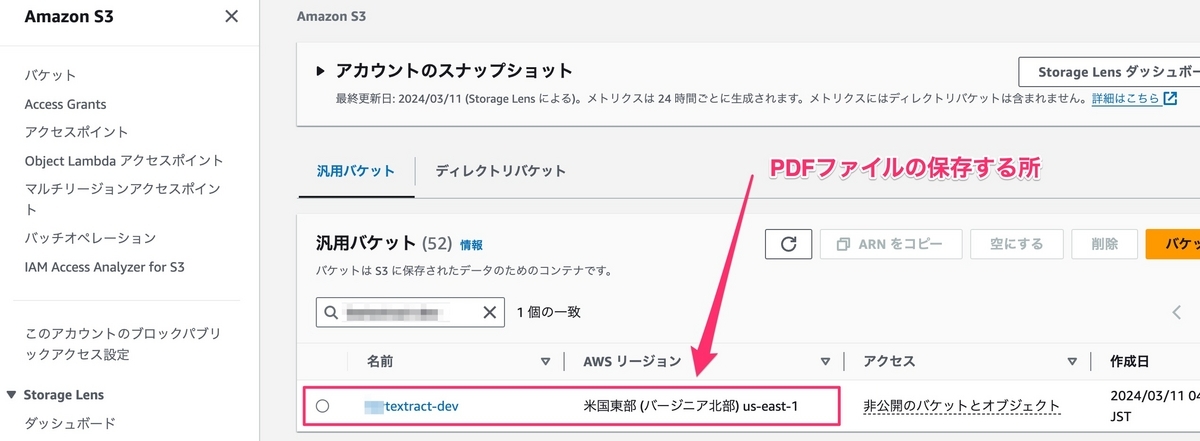
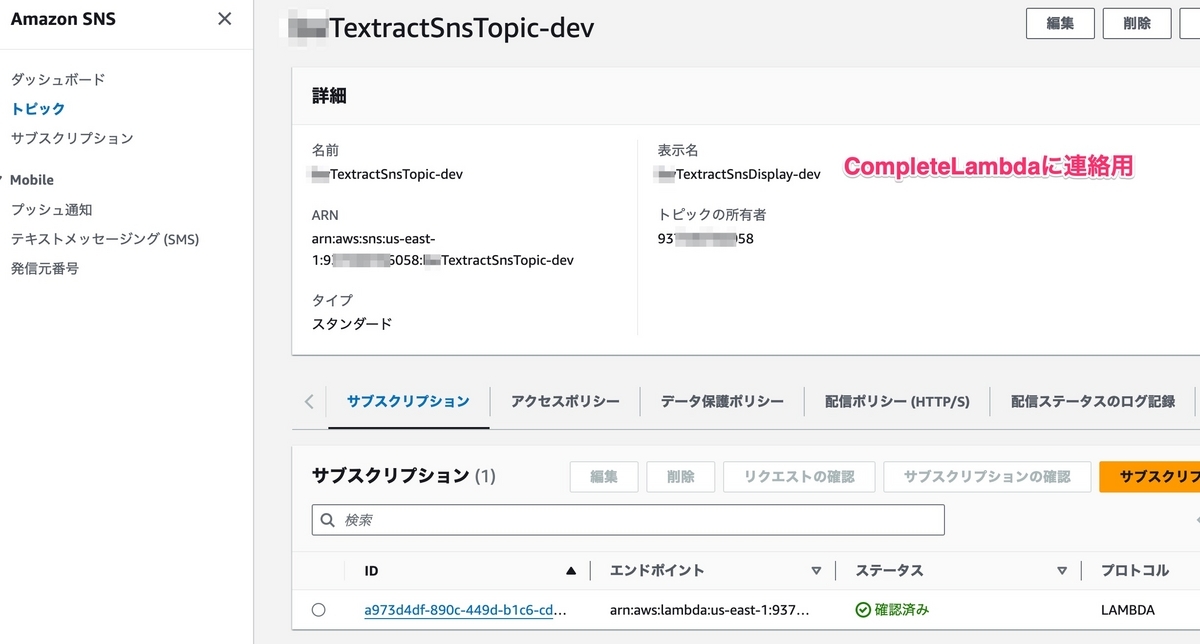
S3バケットとSNSの作成
次に、xxxTextractSnsTopic-devのSNSとxxxtextract-devのS3バケットを作成する必要があり、serverless.ymlファイルで[resources].[Resources]の下に、下記のソースコードを追加する。
    xxxTextractBucket:
      Type: AWS::S3::Bucket
      Properties:
        BucketName: xxxtextract-dev
    xxxTextractSns:
      Type: AWS::SNS::Topic
      Properties:
        TopicName: xxxTextractSnsTopic-dev
        DisplayName: xxxTextractSnsDisplay-dev
SNSとS3バケットを作成するために、下記のコマンドをまた実行する。
serverless deploy
Lambdaの環境変数の設定
次に、serverless.ymlファイルのproviderで下記の設定を追加する。
iam:
  role: xxxlambdaDevRole
environment:
  S3_BUCKET_NM: xxxtextract-dev
  SNS_TOPIC_NAME: xxxTextractSnsTopic-dev
  SNS_TOPIC_ARN: !Ref xxxTextractSns
  TEXTRACT_ROLE_ARN:
    Fn::GetAtt: [xxxTextractDevRole, Arn]
Lambdaのソースコードの作成
次に、プロジェクトの[dist]フォルダーの下に2つのLambdaを作成する必要がある。
* run.jsのファイル
const { TextractClient, StartDocumentTextDetectionCommand } = require("@aws-sdk/client-textract");

exports.handler = async (event) => {
  try {
    const s3Bucket = event.Records[0].s3.bucket.name;
    const s3Key = event.Records[0].s3.object.key;

    const textractCli = new TextractClient();
    await textractCli.send(new StartDocumentTextDetectionCommand({
      DocumentLocation: {
        S3Object: {
          Bucket: s3Bucket,
          Name: s3Key
        }
      },
      NotificationChannel: {
        SNSTopicArn: process.env.SNS_TOPIC_ARN,
        RoleArn: process.env.TEXTRACT_ROLE_ARN
      }
    }));

    return true;
  } catch (error) {
    console.error('Error: ', error);
    return false;
  }
};
* complete.jsのファイル
const { TextractClient, GetDocumentTextDetectionCommand } = require("@aws-sdk/client-textract");
const { S3Client, PutObjectCommand } = require("@aws-sdk/client-s3");
const { fromUtf8 } = require("@smithy/util-utf8");

exports.handler = async (event) => {
  try {
    const message = JSON.parse(event.Records[0].Sns.Message);

    if (message.Status === 'SUCCEEDED' && message.JobId) {
      const textractCli = new TextractClient();
      const result = await textractCli.send(new GetDocumentTextDetectionCommand({
        JobId: message.JobId
      }));

      const texts = result.Blocks
        .filter((block) => block.BlockType === 'LINE')
        .map(block => block.Text);

      const s3Cli = new S3Client();
      await s3Cli.send(new PutObjectCommand({
        Bucket: process.env.S3_BUCKET_NM,
        Key: `result/${message.JobId}.json`,
        Body: fromUtf8(JSON.stringify(texts)),
        ContentType: 'application/json'
      }));

      return true;
    }

  } catch (error) {
    console.error('Error: ', error);
    return false;
  }
};
Lambdaのデプロイし方の設定
Lambdaのデプロイするために、serverless.ymlファイルで下記の設定を追加する必要がある。
functions:
  run:
    handler: dist/run.handler
    events:
      - s3:
          bucket: ${self:provider.environment.S3_BUCKET_NM}
          event: s3:ObjectCreated:*
          rules:
            - prefix: input/
            - suffix: .pdf
          existing: true
          forceDeploy: true
  complete:
    handler: dist/complete.handler
    events:
      - sns:
          arn: !Ref xxxTextractSns
          topicName: ${self:provider.environment.SNS_TOPIC_NAME}
下記のコマンドをまた実行する必要がある。
serverless deploy
③ テスト
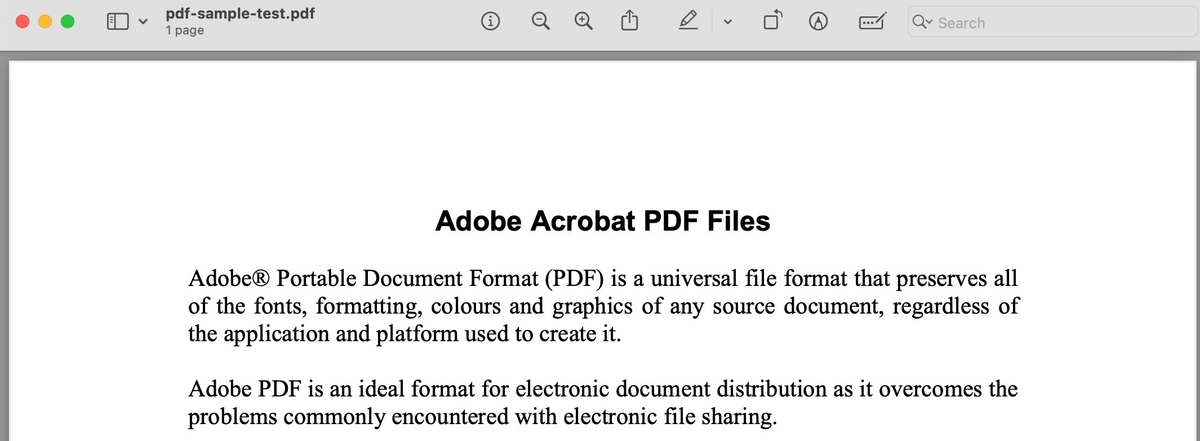
こんな内容のようなpdfファイルをテストする。
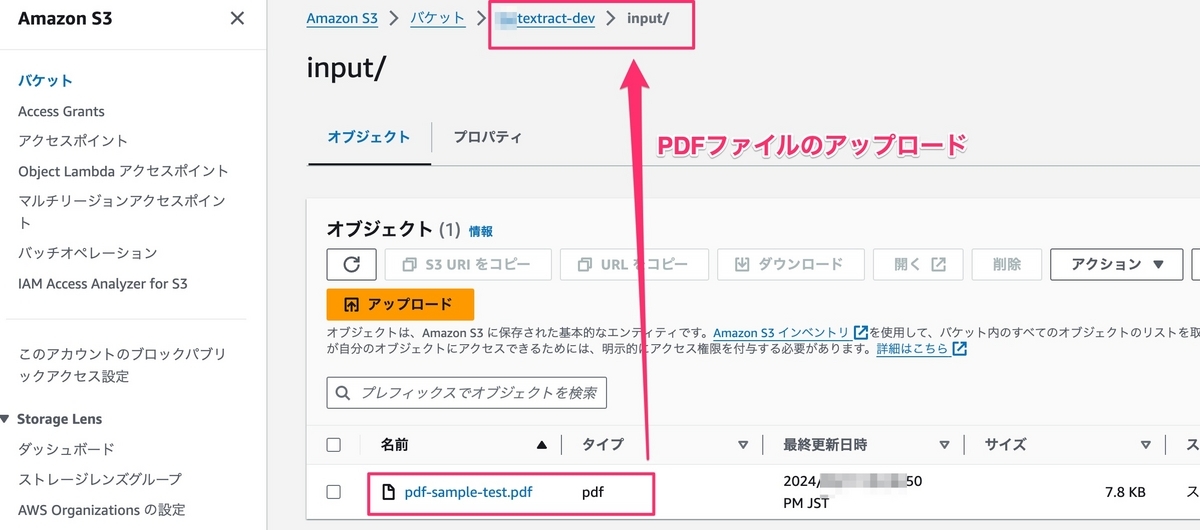
inputフォルダーでpdfファイルをアップロードする。
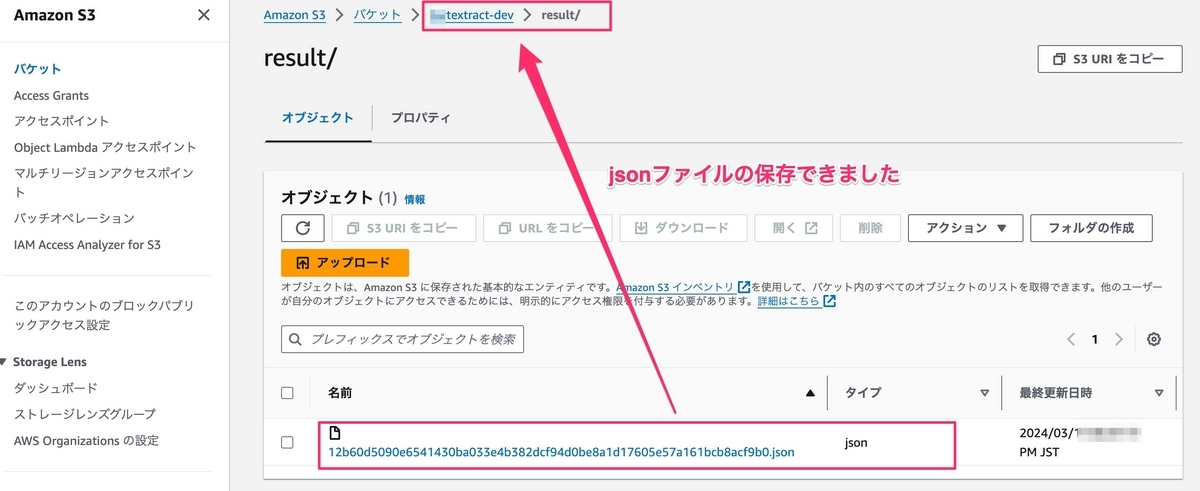
resultフォルダーでjsonファイルが自動的に作成されました。
抽出した内容を確認は、*.jsonファイルを開きます。
["Adobe Acrobat PDF Files","AdobeR Portable Document Format (PDF) is a universal file format that preserves all","of the fonts, formatting, colours and graphics of any source document, regardless of","the application and platform used to create it.","Adobe PDF is an ideal format for electronic document distribution as it overcomes the","problems commonly encountered with electronic file sharing.","Anyone, anywhere can open a PDF file. All you need is the free Adobe Acrobat","Reader. Recipients of other file formats sometimes can't open files because they","don't have the applications used to create the documents.","PDF files always print correctly on any printing device.","PDF files always display exactly as created, regardless of fonts, software, and","operating systems. Fonts, and graphics are not lost due to platform, software, and","version incompatibilities.","The free Acrobat Reader is easy to download and can be freely distributed by","anyone.","Compact PDF files are smaller than their source files and download a","page at a time for fast display on the Web."]
pdfファイルから文字の抽出が完了しました。
III. 最後に
私のデモでは、思ったより簡単に文字などを抽出できました。
システムの自動化、DX化において、AWS Textractは重要な役割を果たすことができると感じます。
この記事では疑問があれば、コメントをしてください。
最後まで読んでいただきありがとうございました。